
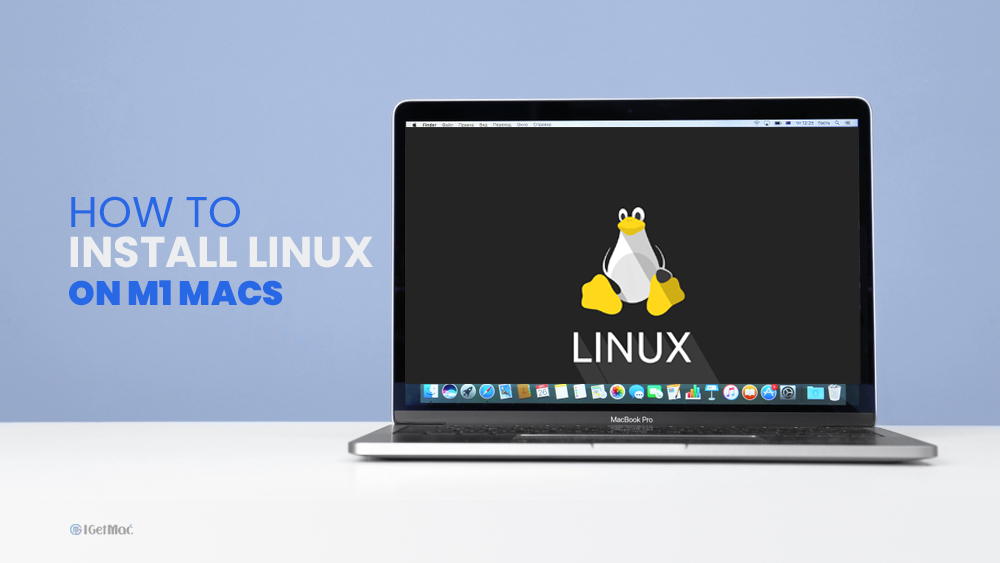
To install Linux on M1 Macs is a straightforward installation these days. But there are some restrictions; for example, you can’t change the display currently, but hopefully, things will improve in the coming weeks and months. I will describe that it is very simple to install Linux on M1 Macs.
So, I will show you all the steps now how to download parallels, install them, download Cali, import them into parallels, and get this set up. The installation is quite simple. So let’s get started.
Table of Contents
Install Linux on M1 Macs
So, the first thing you need to do is download the parallels software from the parallels website. They have an option to try the technical preview. The technical preview is recently released, which works well with the kali installation.
They talk about some of the new features. But we are interested in is downloading. The technical preview is 329 MB in size. You’ll need the activation key to parallel start up the virtual machines. You’ll also need a parallel account to log in. If you don’t have one, then create one.
Install Linux on M1 Macs
Download Linux
While that’s downloading, You may download the kali installer for arm 64. This is 3.2 GB in size. So you need two pieces of software. You need the parallel desktop software and the arm 64 iso.
So now you need to install the parallel software. Once it starts up, you’ll be presented with the installation assistant, and you can click continue to create a new virtual machine now.
You would install Debian and then upgrade it to kali. That’s no longer necessary. Because we’re using the iso that Steve created, you may choose manually to select the file you want to use, and in this case, it’s going to be the kali arm 64 iso.
Click open. It’s unable to detect the operating system. That’s okay. You have to click continue and select Debian Gnu Linux and click OK. You may customize your settings before installation and then again click create.
Hardware Changes
In the hardware settings, you could change the processors. You may also increase the RAM to four GB; you can allocate 512 MB of RAM under graphics. But be aware that the resolution doesn’t change. You’re stuck at 1024 by 768, so that probably doesn’t make much difference.
So basically, all I did was increase the RAM, increase the graphics, and disable sound in-camera. You need to close this and click continue, and hopefully, now you’ll be able to install kali, and there you go, and you can select install to install the software.
Select Language And Install Location
Now you can select as many default options as you can. It would be best if you kept this as simple as you could. You can change it if you like. But I will select English as my language and go to a set location; the keyboard will be American English.
The hostname you can set as kali M1, the Domain name you can leave it the default of the local Domain, the username you may try and make this as close as possible to the virtual machine available to download from the kali website.
So the username you can use is kali or anything, and set any password. You have to enter to write those changes to the disks. The base operating system is now installed.
Now you need to select the software that you want to install. You can choose the default desktop environment and choose large, which installs the default selection plus additional tools. You can select the options that you want. Press continue, and now the software has been installed. After installation, press enters to continue.
Final Task Of The Installation Process
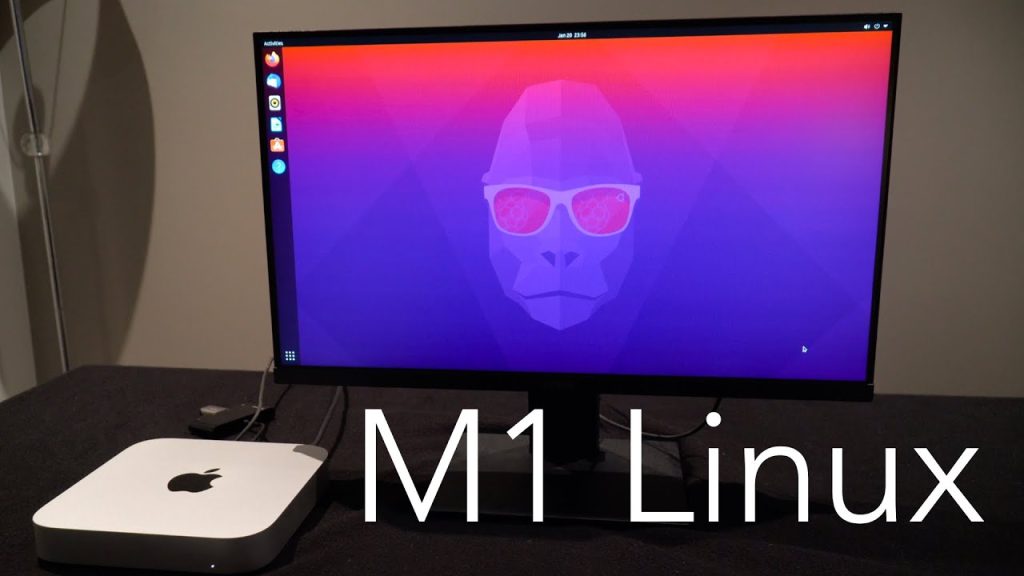
Now you can see that the system is rebooting, and there you go, kali is booting up. You need to log in with the username and password you entered previously.
Now you are running kali on an Apple M1 computer. If you go to about Mac, you can see your Mac details. Now you can complete all the settings of your choice from the system settings.
Different Ways To Boot & Install
If you want to install the Linus on your Mac, you will get two options. These two options are USB Boot, which works on Mac Mini/Pro/Air, and the other is NVME Boot, which also works on Mac Mini/Pro/Air. Here I will make several lists for each way below.
USB Boot Method
The first way is the USB Boot method. You must follow some different processes step by step to install Linux by this method.
- The first step is to Download the Ubuntu rootfs. You may use a Raspberry Pi image because of being an alive USB boot image.
- The next step is to extract the image. You can extract an image by typing “tar -xjvf ubuntu-20.10-preinstalled-desktop-arm64+raspi.img.bz2”.
- It would help if you used a dongle via the USB C port for connecting your USB drive to the Mac M1.
- After that, you have to turn off your Mac to boot into 1TR and hold Power until you see “loading options.” Select the terminal option from the menu bar at the top after loading.
- Now time to install the Custom Kernel by typing “bash -c “$(curl -fsSL downloads Linux USB boot).”
- Now you are prompted to log in after the boot. In this case, the username is “pi,” the password is “raspberry,” and the root password is also “raspberry.”
- Finally, revert to MacOS in 1TR open terminal and type bputil -n——
NVME Boot Method
The second way is the NVME Boot method. You must follow some different processes step by step to install Linux by this method.
- You also need to download the Ubuntu POC rootfs for booting Linux on your Mac.
- Now time to create Partition and Flash Image. Click the drive at the top on the left and select partitions after opening the Disk util. To add the image, you will need to type “tar -xjvf ubuntu-20.10-preinstalled-desktop-arm64+raspi-nvme.img.tar.bz2” to add the image.
- The third step is to boot into 1TR. You have to turn off your Mac to boot into 1TR and hold Power until you see “loading options.” Select the terminal option from the menu bar at the top after loading.
- Then you have to install the Custom Kernel. To install the Custom Kernel, you can type bash -c “$(curl -fsSL downloads linuxnvmeboot).”
- Now time to log in after booting, and the username is “pi,” the password is “raspberry,” and the root password is also “raspberry.”
- The last step is to revert to MacOS in 1TR open terminal and type bputil -n——
So, here is the full installation process of Kali Linus, USB Boot Method, and NVME Boot Method on M1 Mac. If you are interested in installing this Kali Linus on your M1 Mac, you can follow this article.
All the processes are decorated nicely here, and all the data was taken from a trusted source. However, all the information may not be 100% accurate.
Please inform us of your personal opinion by adding your comment and staying linked with our site. If you are interested in reading more articles like this, read about; How To Improve Mac Speed.

Comments