They run Windows 10 on Mac! Choosing between a Windows computer and a Mac can be a tough decision. Some users think they will be giving up features or apps they enjoyed on windows when switching to Mac.
Luckily you can have the best of both worlds by running windows on a Mac. Now, why would you want to run Windows on an Apple machine in the first place?
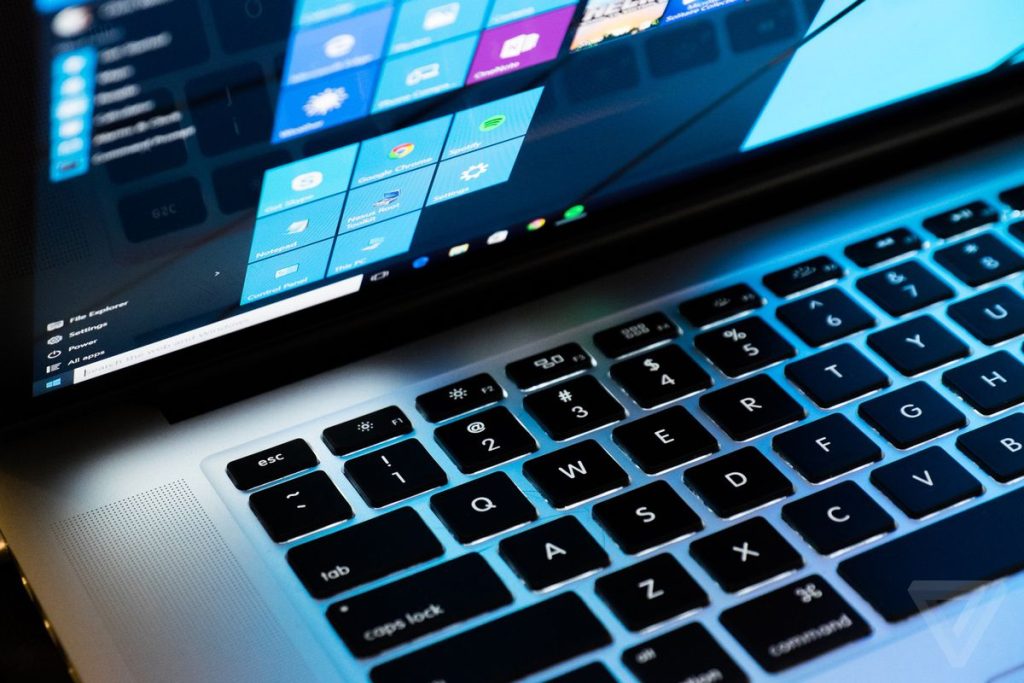
Table of Contents
Is It Positive To Run Mac Using Windows OS?
First of all, there are quite many programs and apps that only work on Windows. Especially professional software. If you are a gamer, you can’t go without windows since the selection of games on macOS is extremely limited.
Apple computers are known for their reliability, and they hold their value very well compared to PCS. Here, you will understand how to run Windows 10 on MacBook for free. Let’s take it out.
Steps To Install Windows 10 On MacBook
Generally, Apple MacBook runs with macOS operating system. But if anyone wants to run Windows 10 oh Mac, it’s possible. In this article, I’ll use Apple’s built-in Bootcamp assistant to install Windows for free. While using this method is easy.
It forces you to restart your Mac whenever you want to access Windows. Another option with a parallel desktop allows you to switch back and forth without a reboot. But that option comes with an annual subscription.
Before we begin installing Windows using Bootcamp. Make sure you’re on an Intel-based Mac with at least 55 gigabytes of free disk space on your startup drive, and make sure to back up all your data. You may have to follow five steps to install Windows 10 on MacBook.
Check Your Secure Boot Setting First.
The first step of this method is to check the secure boot settings. Before installing Windows 10, you have to change the default Secure Boot setting to Full Security if you changed it to No Security. But any Secure Boot setting without affecting your ability to start up from Windows can be used after installing the windows.
Use Boot Camp Assistant To Create A Windows partition.
Boot Camp Assistant stays in the utility folder of your Applications folder, and you need to open this Boot Camp Assistant. Then you will need to plug your USB flash drive into your Mac as you’re asked to insert a USB drive. This Boot Camp Assistant is used to create a bootable USB drive for Windows installation.
Format The Windows (BOOTCAMP) Partition
The Mac restarts to the Windows installer after finishing the Boot Camp Assistant. Then you need to select the BOOTCAMP partition and click Format when the installer asks where to install Windows. But most of the time, the Boot camp installer automatically selects and formats the BOOTCAMP partition.
Install Windows
The next and most important step is to install Windows. In the period of installation of Windows, you must unplug any external devices that aren’t necessary. After that, you need to click Next and follow the onscreen instructions, and then the installation will start.
Use The Boot Camp Installer In Windows
The final step to installing Windows on a Mac is to use the Boot Camp installer in windows. This step starts after Windows installation completes. Then you can see a” Welcome to the Boot Camp installer” window on your Mac. You must follow the onscreen instruction.
You may have been instructed to restart your Mac after the installation. If the Boot Camp cannot open, you may open the installer manually and complete the Boot Camp installation.
There is also has an option to switch between Windows and macOS. If you want to switch between Windows and macOS, first, you have to restart your Mac and then press and hold the Option (or Alt) ⌥ key during startup.
If I had made any fault in this article, I hope you will take it to your kind attention, and please don’t forget to add your valuable comment in the following comment box. Stay tuned to our site and enjoy the daily updates.
If you want to read more articles like this, read about; How To Install Linux On M1 Macs.

Comments